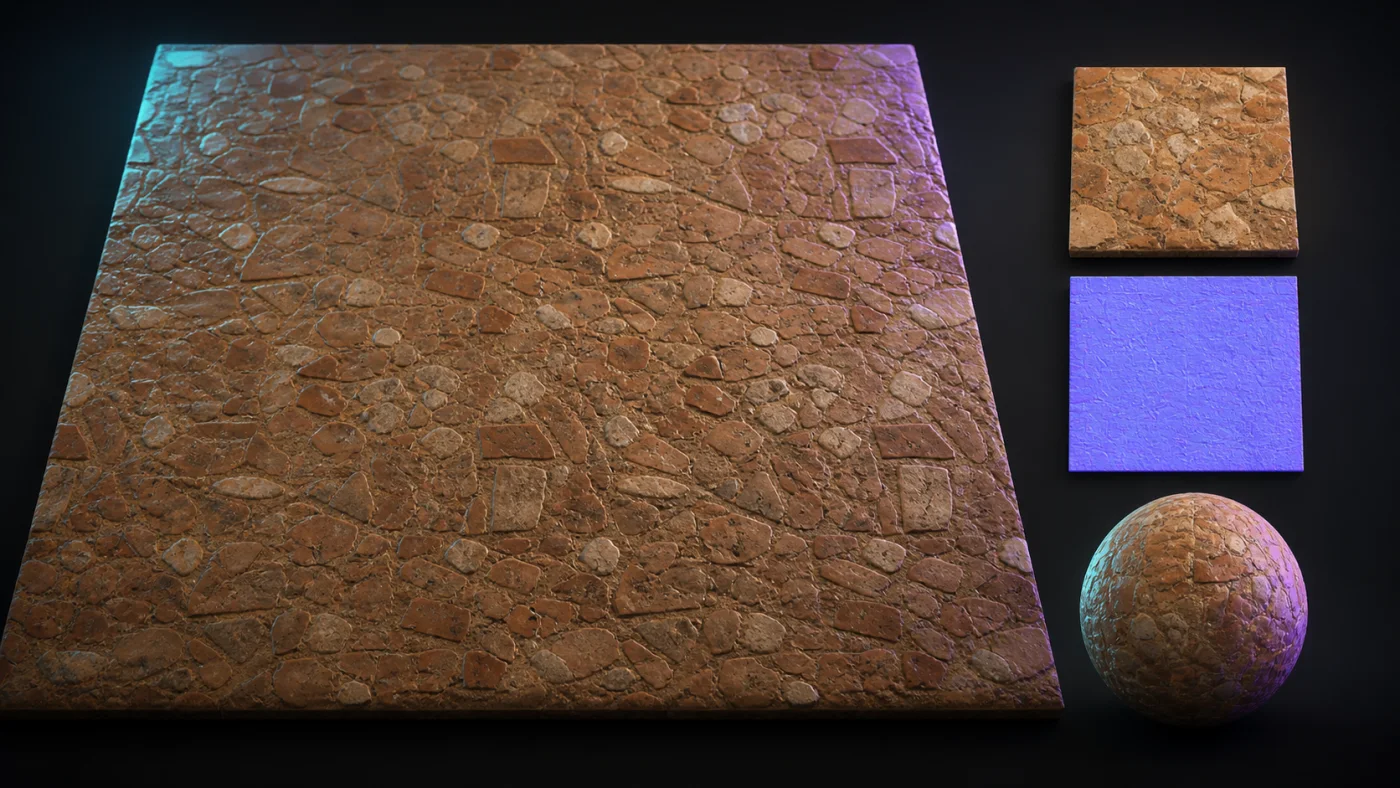
Make a texture seamless by measuring its borders
A texture tiles only when its left and right edges, and top and bottom edges, continue naturally. This seamless texture generator samples those border pairs and reports their average mismatch. It also serves the practical tileable texture maker workflow: wrapped derivatives prevent a new hard border, while edge blending can reduce mismatches already present in the source.
Edge blending crossfades a narrow band against the opposite side. It can reduce a small seam, but it cannot invent a convincing continuation for a large object cut by the border. Keep the control low, inspect recognizable features, and use a dedicated AI repair only when you accept its upload boundary.
- Use wrapped sampling for textures intended to repeat.
- Watch seam-risk feedback update with the source.
- Preview generated maps rather than only the color source.
- Export a consistent set after the border treatment is stable.
Normal-map seams need channel continuity
Even when color edges match, a normal map can reveal a lighting line if the surface direction changes abruptly at the border. Wrapped Sobel or Scharr sampling calculates each border slope using pixels from the opposite side. That preserves the same neighborhood the renderer sees when repeating the texture.
The OpenGL or DirectX setting does not change whether the texture tiles; it changes the vertical direction convention. Set tiling first, then export the channel convention required by the destination engine.
Know when local blending is enough
Local blending is fast, deterministic, and private. It works well on noise, stone, soil, fabric, and other distributed surfaces where the border mismatch is modest. Large directional grain, text, distinct objects, and lighting gradients may require manual offset-and-clone editing or an AI inpainting workflow.
Normal Map Studio labels local reduction as reduction, not perfect seam removal. The quality result and repeated preview are evidence you can inspect before committing the exported files to a material library.
Offset preview versus edge blending
The offset preview is the honest test of whether a texture tiles. It shifts the image by half its width and height so the original border moves to the center of the view. Any seam that would appear when the texture repeats is then visible in the middle of the screen instead of hidden at the edges, where it is easy to miss. Run it before and after any edge treatment; if the seam moved rather than disappeared, the treatment is redistributing the problem instead of fixing it.
Edge blending is the local repair. It crossfades a narrow band along each border against the opposite side, which lowers the average mismatch the checker reports. The trade is that blending always softens whatever detail sits inside that band, so a wide blend visibly blurs the border strip. Keep the band narrow and check a recognizable feature that crosses the edge, because a reduced number with a smeared detail is not an improvement.
Wrapped sampling is the third, cheapest option and it solves a different problem. It changes how the derivative is calculated near the border, using pixels from the opposite side as neighbours, so the generated map does not invent a hard slope at the edge. It does not change the colour image at all. Use it whenever the source is meant to repeat, even if the source already tiles cleanly.
These three controls are independent and are worth applying in order: confirm with the offset preview, reduce with edge blending only if a visible mismatch remains, and keep wrapped sampling on throughout for any texture that will repeat.
Why walls and ground tile better than objects
Tiling works when a surface has no unique landmark. Ground, stone, brick, gravel, plaster, fabric, foliage litter, and noise-driven textures repeat without the eye noticing, because no single feature is memorable. A texture with a distinct object in it, such as a logo, a single leaf, a bolt, or a crack that forks in a recognizable way, will betray its repetition the moment the pattern is visible more than once.
This is a property of the subject rather than a limitation of the tool. A seam checker can measure how well the borders continue, and edge blending can soften a mismatch, but neither can make a recognizable object repeat invisibly. When the subject cannot tile, the better answer is usually a larger non-repeating texture, a trim sheet, or a decal placed on top of a plain tiling base.
Directional structure is the second consideration. A brick wall has a strong horizontal rhythm, so a mismatch of a few pixels at the left and right edges reads as a broken course of bricks rather than a subtle colour shift. Textures with strong directional grain usually need a lower blend strength and a closer look at the repeated preview than noise-based surfaces, even when the reported mismatch numbers are similar.
Compare the reported mismatch against what you can see. Numbers give you a before-and-after for a single change, while the repeated preview tells you whether the texture is usable. Trust the preview when the two disagree, and treat the score as a way to confirm that a change did what you intended rather than as a pass mark.
Preparing a tile for a renderer or a repeating surface
Game engines, real-time renderers, and tiling backgrounds all repeat textures with different assumptions about colour space and compression, so the export step matters as much as the seam work. Export PNG for material maps. Normal, height, and roughness data must not be compressed with lossy colour encoding, because the artefacts land directly in the channel values the shader reads and produce banding that no amount of edge blending will remove.
Keep the resolution a power of two when the destination expects it. Tiling engines and mipmap generation behave more predictably at 512, 1024, 2048, or 4096 pixels, and non-power-of-two sizes can introduce sampling differences between platforms that are tedious to diagnose later. If the source is not a power of two, scale before generating the map set rather than after.
Check the tiling result at the size it will actually be used. A seam that is invisible in a single tile at full zoom can become an obvious grid line when the texture is repeated forty times across a floor and viewed from a distance, because mipmapping averages the border pixels together. View the repeated preview at a reduced zoom level as well as at full detail.
Finally, name and store the set together. The colour source, the normal map, the height map, and any occlusion or roughness output describe one material and are only correct as a group. Keeping a consistent filename stem makes the set importable without re-deriving which map belongs with which source.